 Meteor
 Solar wind
 Wormhole
 Ice geyser
 Cabin fire
 Hungry astronaut
 Slingshot planet
 Fire meteor
 Aurora
 Black hole
 Solar eclipse
 Pulsar
 Radiation belt
 Dark nebula
 Io volcano
 UFO
 Force field
 Star nursery
 Neutron star
 Magnetar
 Hull breach
 Ice comet
 Supernova
 Solar flare
 Asteroid belt
 Binary star
 Gravitational lens
 Space debris
 Time dilation zone
 Rogue planet
 Gamma-ray burst
 Dark matter halo
 Dyson sphere
Scoring and boosts
How the result card adds up your points, the shot boosts from level 151, hidden paths and the last 50 levels.
How your score is worked out
While you play, the top bar counts brick points. When you finish a level, the result card shows your total points; tap Details under it to see how the bonuses add up:
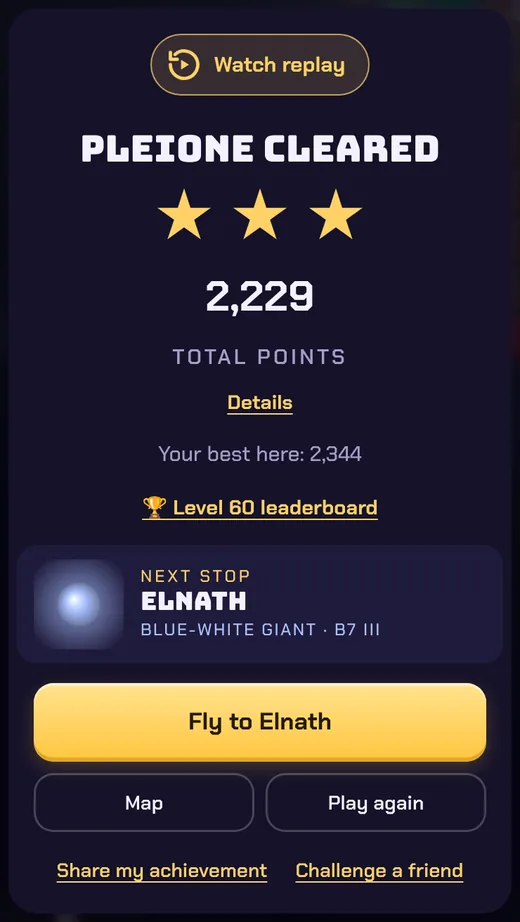
| Line | Points |
|---|---|
| Bricks smashed | 1 per hit, 10 per brick broken |
| Level cleared | 25% of the level's value |
| Speed | up to 60% of the value: 1.5 s or less of aiming per shot earns it all, 8 s or more earns none |
| Spare shots | up to 120% of the value for shots left over (bought shots don't count) |
| Ball economy | up to 40% of the value for firing fewer balls than par |
| Hazard assists | UFO, magnetar, slingshot, wormhole, black hole, pulsar, lens: the damage a redirected ball does in its next 8 brick hits, counted again |
| Balls lost | Burned by fire meteor, Eaten by astronaut, Lost in a gamma-ray burst, Smashed by asteroids, Swallowed by binary stars, Caught fire, Fried by radiation, Burnt by lava, Crushed by a neutron star, Sucked out of the airlock, Melted on a wall, Burnt in the solar wind: each lost ball costs what your average ball earned |
| Supernova collapsed | minus 5% of the value |
| Retry used | 20% off the total after a stage retry or bought shots |
The level's value is the life of all its starting bricks plus 10 per brick, so the split is the same on every level.
Shot boosts (level 151+)
From level 151 the level card offers four extra boosts. Pick any before you start; they last the whole level and are paid with gems.
| Boost | What it does | Gems |
|---|---|---|
| +20 balls | 20 more balls on every shot of the level. Pick it or +10 balls, not both. | ◆ 18 |
| Power balls | Every ball hits for 2 instead of 1, on every shot of the level, so bricks break in half the hits. They have a gold rim. | ◆ 40 |
| Piercing ball | The first ball of each shot goes through 3 bricks, hitting each one, before it bounces. It has a cyan ring. | ◆ 20 |
| Bomb ball | The first ball of each shot blows up the bricks around the first brick it hits (a 3×3 blast). It has an orange ring. | ◆ 25 |
- Boosts keep your 3rd star. Only retries, aim assist, gem continues and bought shots cost it.
- Combine them: power balls and +20 balls together give the most damage per shot. The piercing ball is best at thin lines of bricks; the bomb ball at tight clusters.
- From level 201 the bricks are much tougher. For 3 stars you'll need good aim and timing plus the right boosts and hazard customisations.
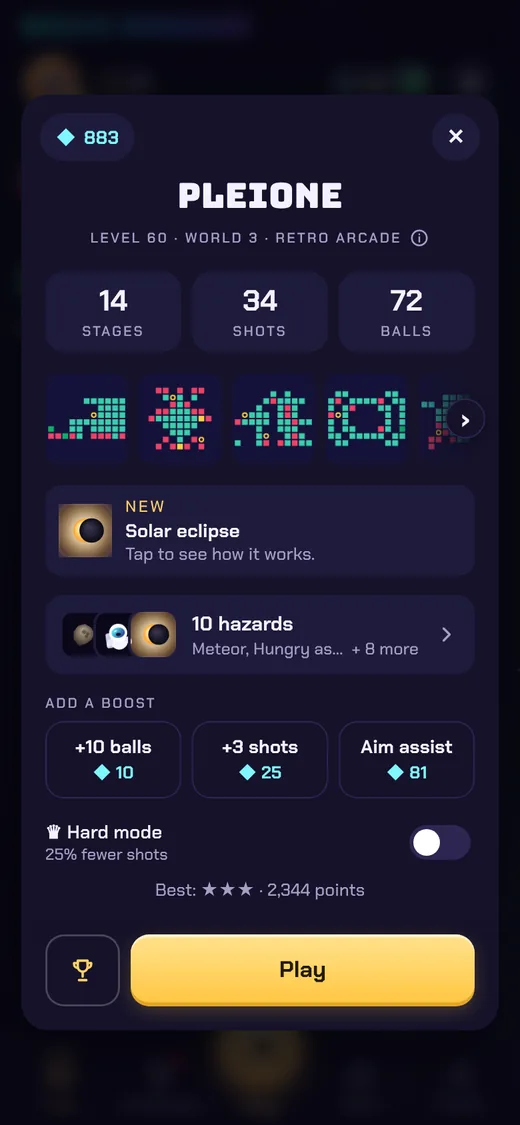
Boosts sit on the level card as a row of chips with their gem price. Tap one to pick it; tap again to drop it. 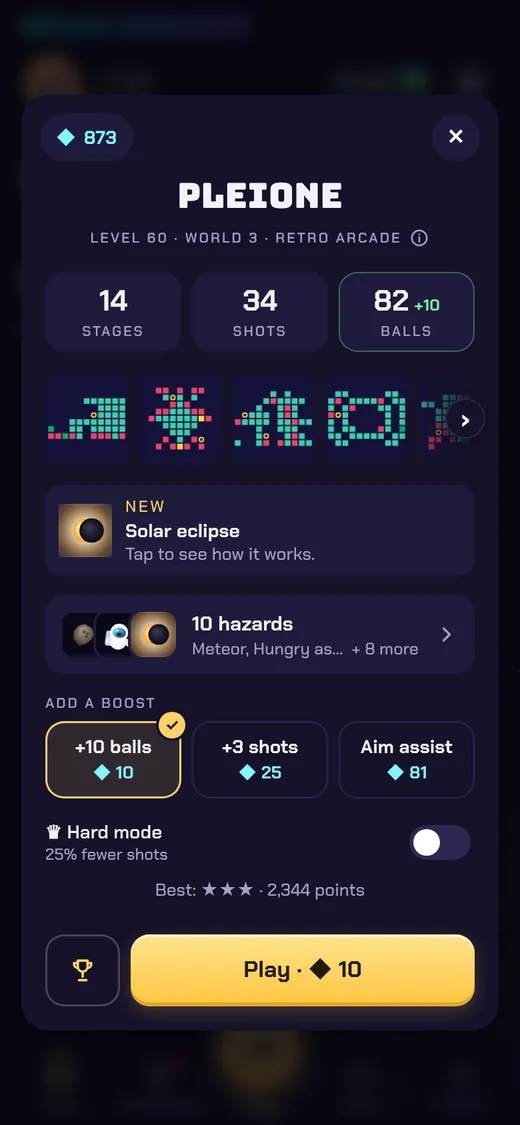
A picked boost shows on the numbers (+10 balls) and on Play, with the gems it costs.
Hidden paths
Boss levels (every 25th), and from level 151 every 3rd level, hide a weak path. Each stage has a tough front of bricks guarding softer bricks behind it, and somewhere in that front a few weaker bricks let your balls through. Nothing marks the way, and not every weak brick leads anywhere.
- Find the path. Read the numbers, look for an open pocket behind the front and test your angles. Balls that get behind the front bounce around the soft bricks for a long time and clear the stage fast: that's the way to 3 stars.
- Hammer the front and each ball does very little: you'll need extra shots (2 stars with free or ad shots, 1 star with bought ones), or you'll run out.
- Once you've broken through, keep firing at the same spot, off a side wall if the straight line is blocked, and watch out for hazards drifting in the way.
Levels 301–350
The last 50 levels are the hardest in the galaxy. For 3 stars you'll need power balls and +20 balls, and also a hazard customisation (a Tame) for the hazard that costs you the most balls. Without one, even a perfect aim runs short.